Building A Fence: What You Need To Know
What You Need To Know About building a fence
Even though fencing is often overlooked as a home feature, it serves various essential purposes. From deterring potential intruders to providing an extra barrier against inclement weather or noisy neighbours, a privacy fence ensures your property remains truly private.
Installing a fence can be time-consuming and labour-intensive, so it’s beneficial to understand some basics before starting. Begin your project with the following advice on how to build a fence:
How are Fences Measured?
Fence posts and panels are typically measured in feet and inches, though some may be found in meters. For the purpose of this guide, we will use feet and inches. Accurate measurements are crucial for ensuring the proper fit and alignment of your fence. It’s important to measure the fence line accurately, following the contours and any changes in elevation, to avoid any discrepancies during installation.
How Many Fence Panels Do I Need?
Determining the number of fence panels required involves several steps:
- Measure the Fence Line: Use a measuring tape to measure the total length of the fence line from one end to the other. Ensure you follow the ground’s contour and consider any slopes or uneven terrain. It’s crucial to get an accurate measurement to avoid miscalculations.
- Calculate the Number of Panels: Fence panels are typically six feet wide. Divide the total length of the fence line by the width of the panels. For example, if your fence line is 60 feet long, you would need 10 six-foot-wide panels.
- Account for Posts: You will need one post for each panel, plus an additional post to start. Therefore, for 10 panels, you would need 11 posts. This ensures stability and proper alignment of the fence.
- Convert Units if Necessary: If you have measured in meters and your panels are in feet, use an online conversion tool to convert the measurements to ensure consistency. Accurate conversion is vital to avoid discrepancies during installation.
How High Can I Build My Fence?
Most local councils allow fences up to two meters (approximately 6.5 feet) high without requiring planning permission. For fences exceeding this height, you must obtain permission from your local council. Always check local regulations before starting your project to ensure compliance.
When purchasing fence panels, note that they might exceed two meters to account for the portion that will be buried in the ground for stability. Ensure you understand these specifications to avoid issues during installation.
Different Types of Fencing for Gardens
There are three primary types of garden fencing, each offering varying levels of privacy, aesthetic appeal, and cost:
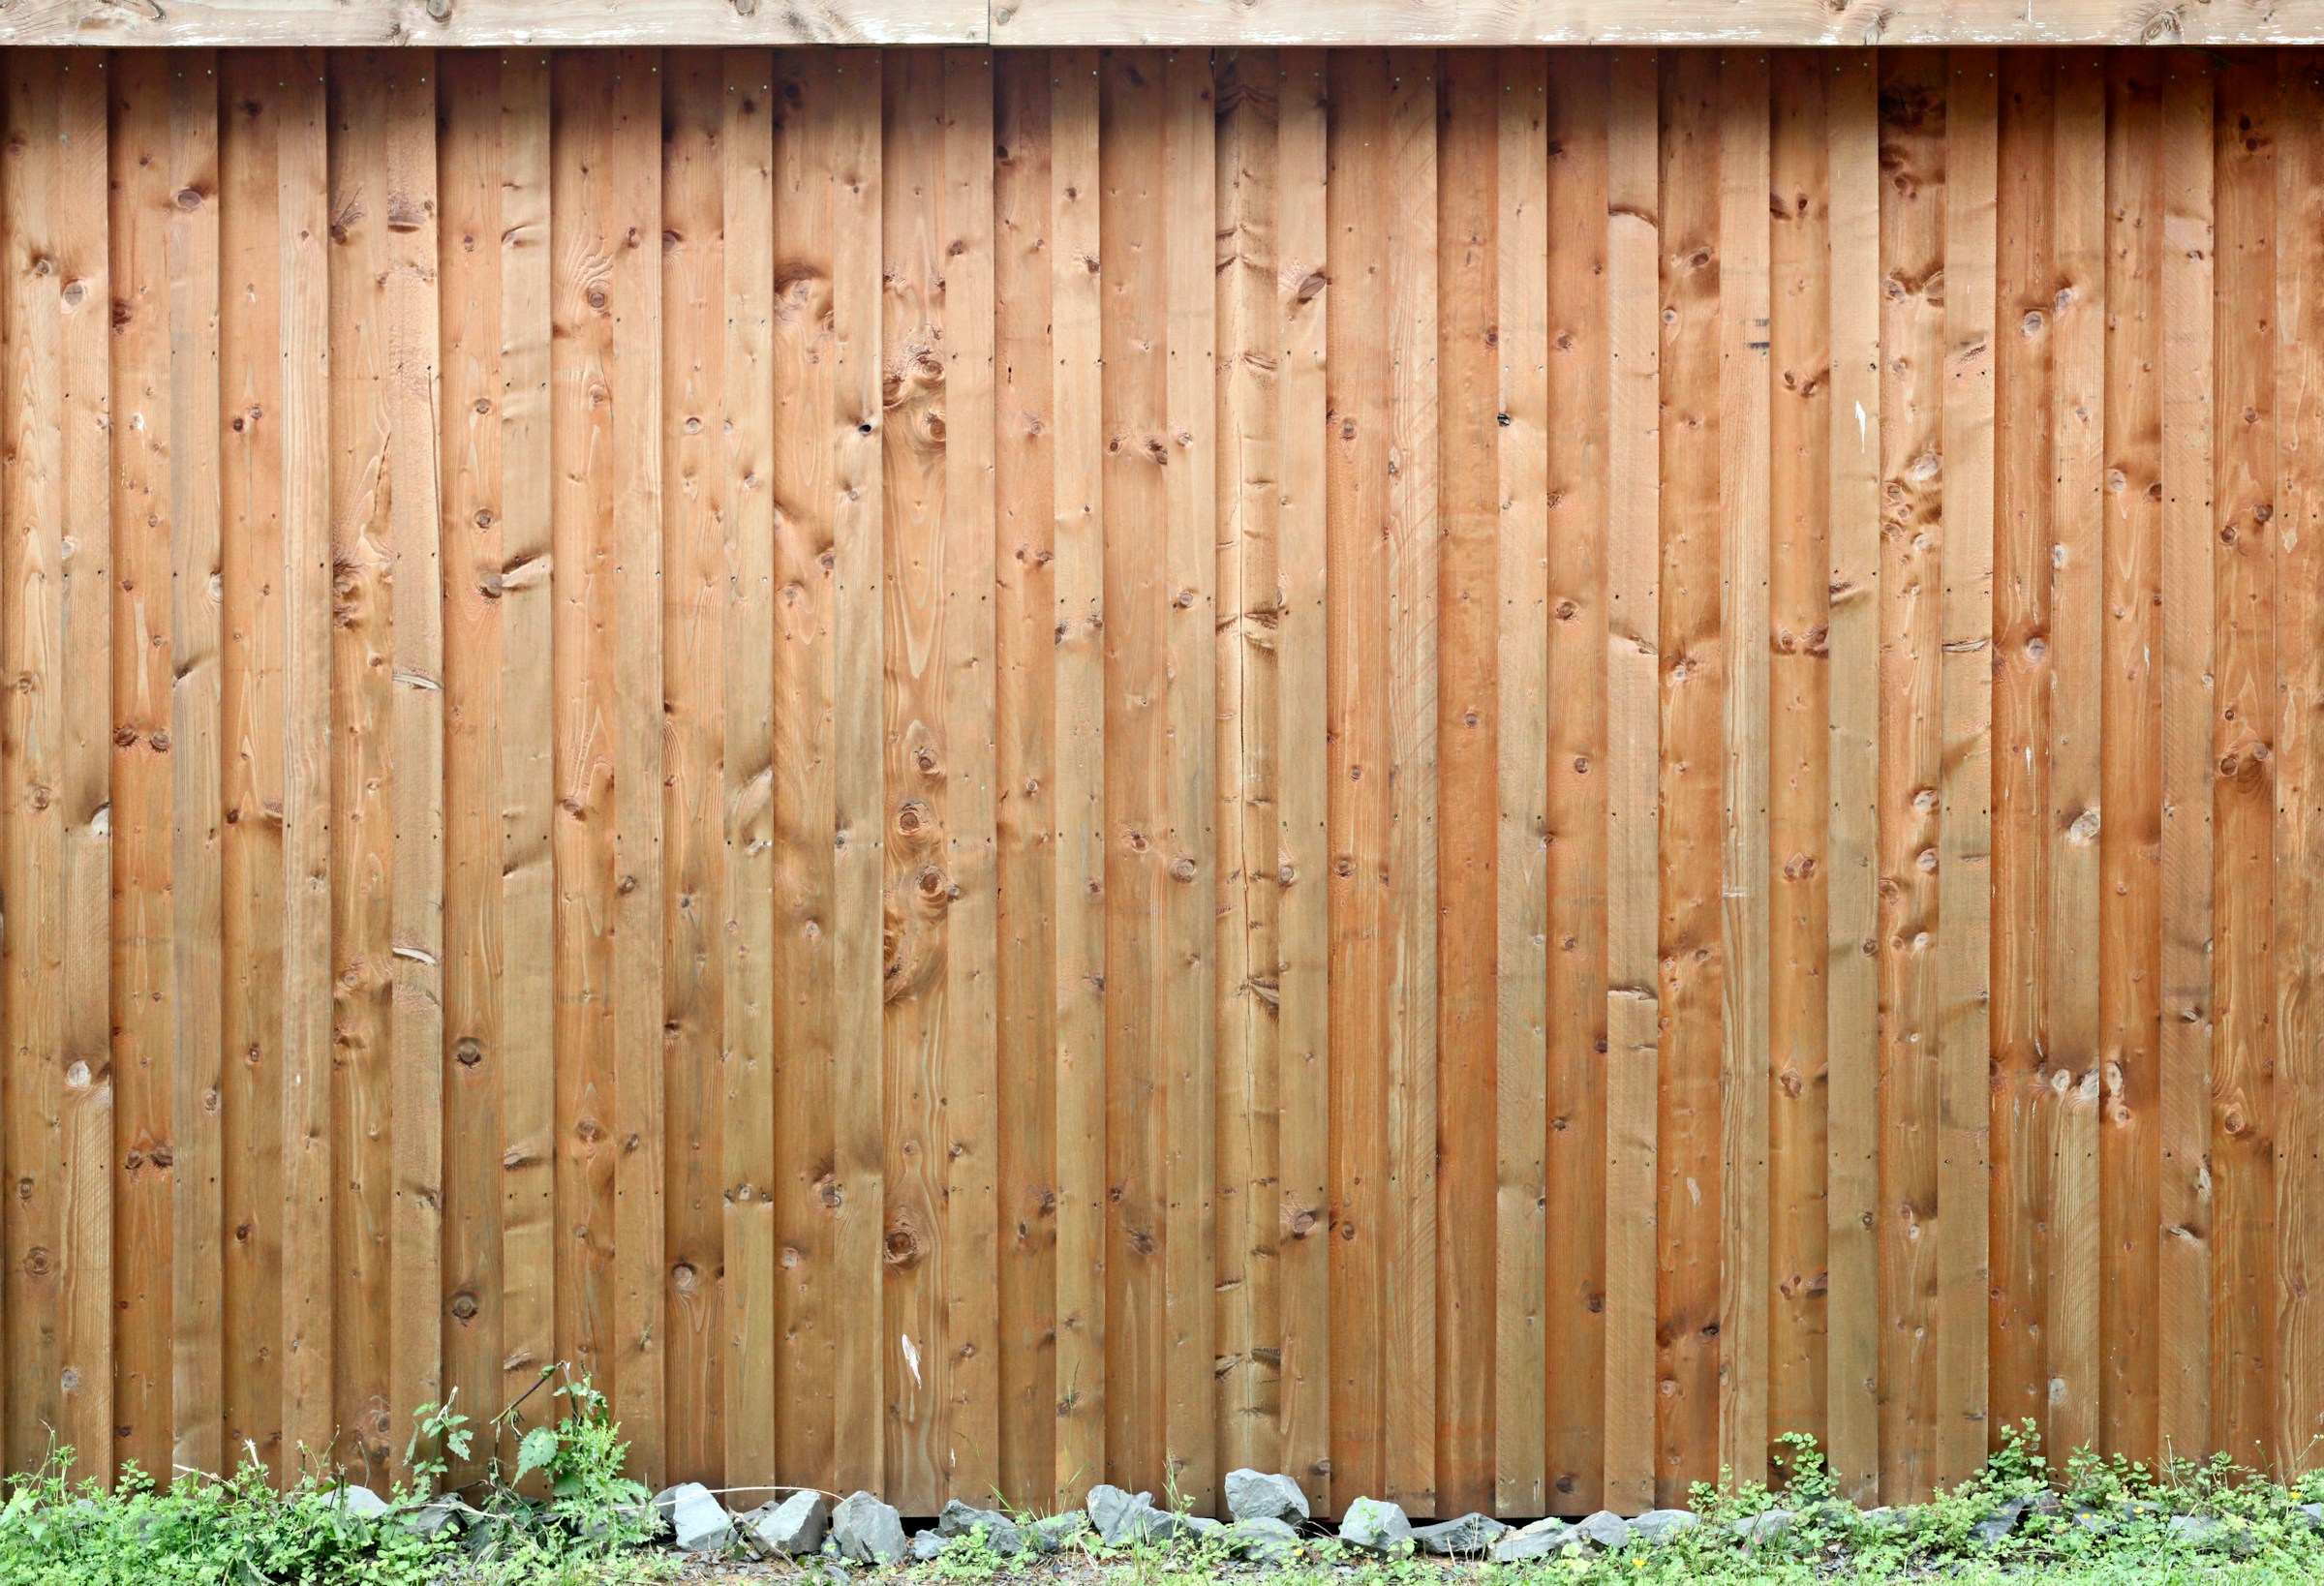
Closeboard Fencing: Closeboard fencing, also known as feather edge fencing, consists of vertical boards that overlap, providing a robust and durable barrier. This type of fencing offers complete privacy and is ideal for security. It uses more timber than other styles, making it the strongest and often the most expensive option. Closeboard fencing is available as individual boards, which is convenient for repairs, or as pre-assembled panels.
Overlap Fencing: Overlap fencing is made from horizontal boards that slightly overlap each other. This style is cost-effective, providing reasonable privacy and durability. While it is less sturdy than closeboard fencing, it is a popular choice for many garden applications due to its affordability and ease of installation.
Palisade or Picket Fencing: Palisade or picket fencing is primarily decorative, consisting of spaced vertical boards. It requires less timber and provides minimal privacy, making it suitable for marking boundaries without obstructing views. This style is ideal for creating a visually appealing border without the need for extensive privacy.
Which Fence Do I Own?
Property boundaries can sometimes lead to disputes between neighbours. To determine ownership and responsibility, refer to your property’s title deeds, available from the Land Registry. The title deeds will include a detailed map of your property and any boundary markings.
Look for a ‘T’ on the boundary drawing; the flat head of the ‘T’ indicates the side responsible for the fence. If there is a ‘T’ on both sides (forming a sideways ‘H’), responsibility is shared between neighbours. The deeds will also clearly define the boundaries of your property, helping you understand the extent of your responsibilities.
How to Build a Fence
Building a fence can be a straightforward process if you follow the correct steps. Below is a detailed guide for constructing a standard fence with wooden posts:
Plot Out Your Fence: Start by consulting your property deeds to ensure you understand the boundaries. Measure the fence line accurately and mark the positions of corner posts, first posts, and end posts using spray paint, chalk, or string. Begin by marking where each post will go, starting with the first post and measuring the width of each fence panel. Ensure you account for gate locations and any changes in direction or elevation.
Dig Holes for Posts: Each post hole should be approximately 450mm (18 inches) deep. For softer ground, you may need to dig deeper holes and use longer posts to ensure stability. Use a post hole digger or spade to create the holes. If the ground is particularly hard or frozen, it’s best to wait for milder weather to make the digging easier.
Position the Posts: Position the posts in their respective holes. Use an extra pair of hands or temporary wooden props to hold the posts upright. To create props, nail two pieces of timber together in an L or T shape and drive them into the ground to hold the post steady. Insert the first post and use a spirit level to ensure it is perfectly vertical. Repeat with the last post, then run a builder’s line between them to guide the alignment of the remaining posts.
Cut Panels to Size: It’s likely that you’ll need to cut at least one fence panel to size. Remove the framing batten from one side of the panel, then move the batten to the new position to match the desired width. Secure the batten in place with nails. Saw along the outside edge of the first batten to resize the panel accurately.
Insert the Panels: Use bricks to slightly raise the panels off the ground to prevent moisture damage. Position the panel between the posts, ensuring it is level. Secure the panel to the posts with galvanised nails. Repeat this process for each panel, using a wooden prop to keep the fence vertical while securing subsequent panels.
Cement the Posts: Once all panels are in place, ensure the posts are level and aligned with the builder’s lines. Mix fast-setting concrete and fill each post hole according to the manufacturer’s instructions. Smooth the concrete away from the post with a trowel to prevent water pooling at the base.
Add Fence Caps: If you have fence caps, soak them in water before nailing them onto posts to prevent splitting. Apply a silicone-based sealant to the bottom of the cap to prevent water seepage. Secure the caps to the top of each post with nails.
How to Install Concrete Fence Posts
Concrete fence posts provide a solid foundation and are easier to maintain compared to wooden posts. Follow these steps for installation:
Plan and Mark: Use a builder’s line and pegs to mark the fence and post positions. Each post hole should be three times the width of the post on all sides. The depth of the hole depends on the fence height, typically requiring posts two feet longer than the panels for secure ground placement.
Position the Post: Place the post in the centre of the hole and use a spirit level to ensure it is vertical. Hold the post steady and fill the hole with quick-drying concrete, following the manufacturer’s instructions for drying times. Ensure the post remains level while the concrete sets.
Insert Gravel Boards: Slot gravel boards into the concrete posts. Gravel boards sit between the bottom of the fence and the ground, protecting the fence from moisture and rot. Repeat this process for each post, ensuring the gravel boards are securely slotted in place.
Slot in the Panels: Once the concrete is completely dry, slot the fence panels into place between the posts. This process is straightforward with concrete posts, as they are designed to easily accommodate the panels.
How to Attach a Fence Post to a House Wall
Attaching a post to a house wall may be necessary to complete a fence or hang a gate. Here’s how to do it:
Position the Post: Align the post against the wall at the same height as other posts. Make three marks along the post at even distances, ensuring these align with the centres of the bricks rather than the mortar.
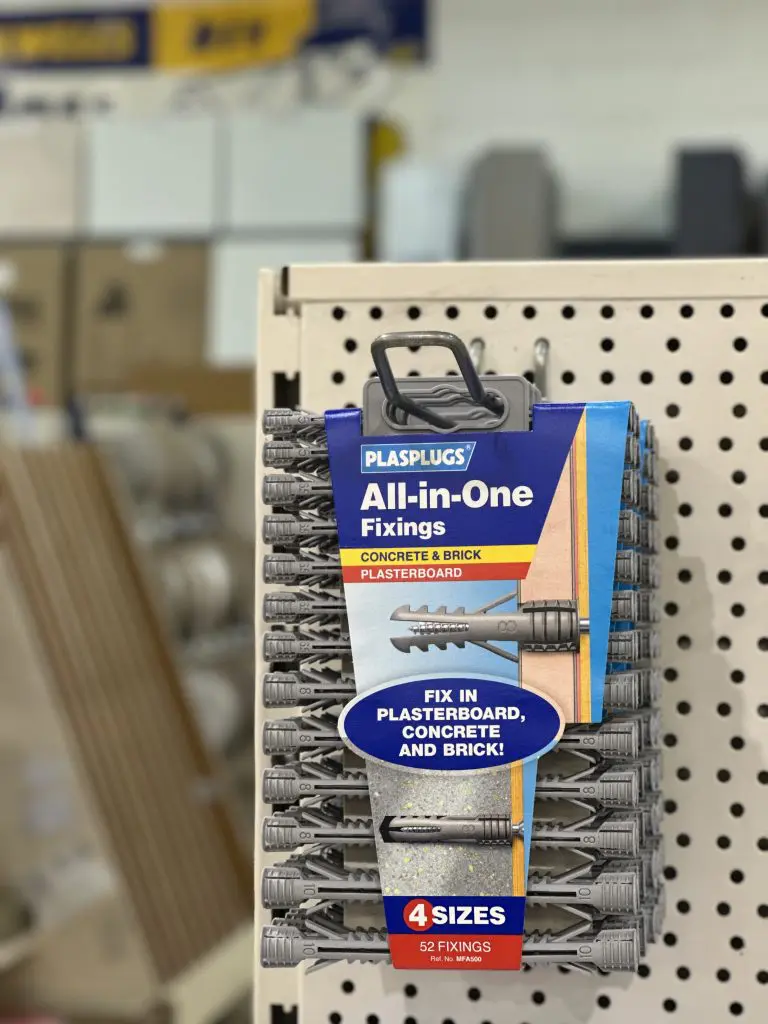
Drill Through the Holes: Create countersunk holes with a 25mm drill bit to about 10mm deep, ensuring the bolts will sit flush. Then use a 10mm auger drill to drill through the post at the marked points.
Reposition the Post: Reposition the post against the wall and check its alignment with a spirit level. Drill into the brick through the post holes and secure the post with wall bolts, ensuring it is tightly fixed and level.
How to Attach Trellis to a Fence Panel
Trellis can be added to the top or face of a fence panel for decorative purposes or to support climbing plants.
Adding Trellis to the Top: Attach U brackets to each post, midway between the top of the post and the top of the fence panel. Slot the trellis into place and secure it with 35mm screws through the brackets. Ensure the trellis is securely attached and level.
Adding Trellis to the Face: To attach trellis to the face of a panel, leave a one-inch gap between the trellis and the panel for plant growth. If needed, create this gap with battens. Line the trellis against the panel, mark top, bottom, and middle positions, and secure battens to these marks. Drill pilot holes and secure the trellis to the battens with screws.
How to Paint a Fence
Protecting your fence with paint or stain prevents rot, sun damage, and enhances its appearance.
Preparation: Choose a warm, dry day with a temperature above 10 degrees Celsius. Avoid painting in extreme heat to prevent paint flaking. Clean the fence thoroughly, removing dirt and old paint with sandpaper or a power sander. Use dust sheets to cover nearby plants and furniture.
Painting with a Brush: Dip the brush into the paint, covering the bottom half of the bristles, and wipe off excess. Apply a thick layer along the grain, focusing on one panel at a time. Smooth out any drips to prevent streaking.
Painting with a Roller: Load the roller with paint from a tray, ensuring even coverage. Apply the paint with smooth, upward motions, overlapping sections by 50% for a consistent finish.
Painting with a Sprayer: Test the sprayer on a small patch to ensure consistent colour. Use long, sweeping motions, keeping the nozzle 15cm from the surface, and overlap each section by 50% to ensure even coverage.
Fence Painting Ideas
For small gardens, light colours like white can make the space feel larger by reflecting light. Bold and dark shades may make a garden feel confined. Choose a colour that complements your garden and enhances its aesthetic appeal.
When to Treat Your Fence
Treat new wood panels immediately after installation to protect against the elements. Use a high-quality fence treatment to ensure long-term durability and maintain the fence’s appearance.
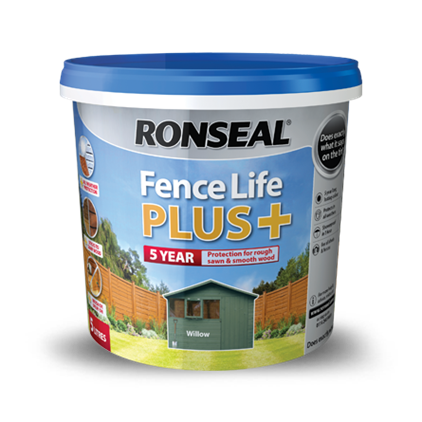
Ronseal Fence Life Plus+
This Ronseal product is their toughest and most versatile fence and shed treatment to date. It offers protection against rain, frost, snow, and UV damage, ensuring it does not grey in the sun. Suitable for both rough sawn and smooth planed sheds and fences, the treatment has a durability that extends up to five years.
How to Fix a Fence
If a fence panel becomes damaged, replace it by following these steps:
- Remove Broken Panel: Use a crowbar to pry apart the side panel and expose the nails. Carefully remove the nails with a hacksaw, pliers, or claw hammer.
- Separate Panels: Once the nails are removed, take out the damaged panel and prepare a new panel for installation.
- Install New Panel: Follow the steps outlined in the “How to Build a Fence” section to install the new panel, ensuring it is securely attached and aligned with the existing fence.
Contact Maxwells for Assistance
Remember, we are here to help. Feel free to call or visit your local branch for any advice. If we can’t help directly, we will likely know someone who can.