How To Build A Decking On Grass Or Soil
In this guide, we’ll walk you through the process of how to build a decking on grass or soil as well as building a raised deck, ensuring your DIY project is a success from start to finish. Decking is a fantastic way to add functional and attractive space to your garden. Whether you’re looking to create an alfresco dining area, a serene space to surround a Jacuzzi or pool, or simply enhance the overall look of your outdoor area, we’ve got you covered. Let’s dive into the details and help you transform your garden with beautiful, durable decking.
Do You Need Planning Permission To Build a Decking?
If you’re considering adding decking to your outdoor space, you might be wondering about planning permission. Generally, you don’t need planning permission for decking. However, there are specific scenarios where you should contact your local council:
1. Height: If the decking will be more than 30cm above the ground.
2. Coverage: If the decking, combined with other outbuildings and extensions, covers more than 50% of the garden area.
How Much Decking Do You Need?
Several factors influence the amount of decking you’ll need, including the size of the area, the material of the boards, and the length of the boards. To calculate the required decking:
1. Measure the Area: Measure the width and length of the area in metres. Multiply these to get the surface area in square metres (length x width = decking surface area in m²).
2. Consider Gaps: Leave gaps between individual boards (5-8mm along the length and 3mm along the ends) to allow rainwater drainage and accommodate expansion and contraction.
3. Calculate the Number of Boards:
• Determine the coverage of a single board.
• Multiply this by 1.1 to account for wastage.
• Divide the decking surface area by the adjusted single board coverage to find the total number of boards needed.
Equipment Needed to Lay Decking
Being organised before starting your decking project will make the process smoother. Here’s a list of tools and equipment you might need:
Tools:
• Pencil
• Tape measure
• Spirit level
• Builder’s line or string and pins
• Spade for clearing the area
• Tamper for flattening soil
• Saw for cutting wood
• Drill with wood bit
Equipment:
• Decking boards
• Wood for decking frame
• Decking screws
• Weed control fabric and gravel or concrete pads
• Coach screws
How to Lay Decking
Laying decking is more straightforward than it might seem, especially with proper planning. Here’s a guide to building raised decking and laying decking on grass.
Choosing the Position
When selecting a spot for your decking, consider:
• Level Surface: Decking is easier to lay on a level surface, but it can be laid on uneven ground with more effort.
• Privacy and Sunlight: Raised decking can provide additional privacy and enhance sun exposure or shade as needed.
• Plants and Trees: You can work around existing plants and trees, but research thoroughly to avoid root damage.
Laying Decking on Soil or Grass
When laying decking on soil or grass, you can choose between two methods: laying it directly on the ground or on risers as a floating deck. Here’s a detailed guide to help you through each step:
1. Prepare the Area
• Outline the Size and Shape: Use pegs and a builder’s line to mark the perimeter of your decking. Ensure the lines are straight and the corners are right angles.
• Clear the Area: Remove any plants, rocks, and weeds from the marked area. Dig down to a depth of approximately 50mm to expose the bare soil.
• Level the Ground: Use a flat surface, such as a decking board, and place a spirit level on top to check for evenness. If the ground is uneven, add extra soil to low spots or compact high spots to flatten the area.
2. Laying Directly on the Ground
• Weed Control Fabric: Cover the cleared and levelled area with weed control fabric to prevent weeds from growing through your decking.
• Add Gravel: Spread a 40-50mm layer of gravel over the weed control fabric. This helps with drainage and provides a stable base for your decking.
3. Laying on Risers (Floating Deck)
• Concrete Pads: To prevent moisture damage, create concrete pads for your deck to sit on. Space the pads evenly across the area where the deck will be placed.
• Square the Site: Ensure the layout is square by measuring diagonally across the site from corner to corner. Adjust the layout until both diagonal measurements are equal.
• Measure and Cut Deck Boards: Measure the size of your deck boards, mark them to the required length, and cut them accordingly. Leave appropriate expansion gaps (5-8mm along the length, 3mm at the ends).
4. Building the Frame
• Measure and Cut the Frame: Cut four outer joists to form the perimeter of your frame. For the inner joists, space them evenly according to your deck design (450mm apart for horizontal boards, 300mm for diagonal/chevron boards).
• Assemble the Frame: Drill pilot holes in the outer joists to prevent the wood from splitting. Use coach screws to secure the frame at each corner, ensuring it is square and sturdy.
• Add Inner Joists: Divide the frame evenly with inner joists, securing them with coach screws. This provides additional support for your decking boards.
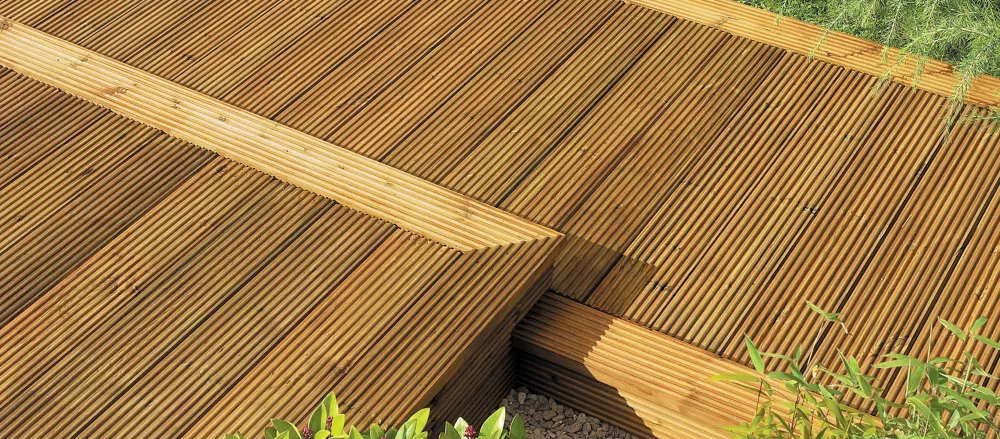
How to Lay Deck Boards
With the frame in place, you can now lay the decking boards:
1. Position the First Board
• Starting Point: Begin in one corner of your sub-frame. Position the first board so it runs perpendicular to the inner joists and sits flush with the frame.
• Mark Screw Positions: Use a pencil to mark where the screws will go. Plan for two screws on either side of each board at each joist intersection.
2. Secure the Boards
• Drill Pilot Holes: Drill pilot holes at the marked positions. Use a drill bit slightly thinner than the screw’s shank to guide the screws without splitting the wood.
• Attach the Boards: Secure the boards with screws, ensuring they are at least 15mm from the ends and 20mm from the edges. Maintain expansion gaps between each board to allow for weather-related expansion and contraction.
• Stagger the Boards: For added strength, stagger the boards by cutting some to different lengths. This interlocks the boards and provides a more stable surface.
3. Finish Up
• Smooth the Edges: Use sandpaper to smooth any rough edges or cut ends of the boards.
• Protect the Ends: Apply an end grain preserver to the cut ends to protect against moisture and prolong the life of your decking.
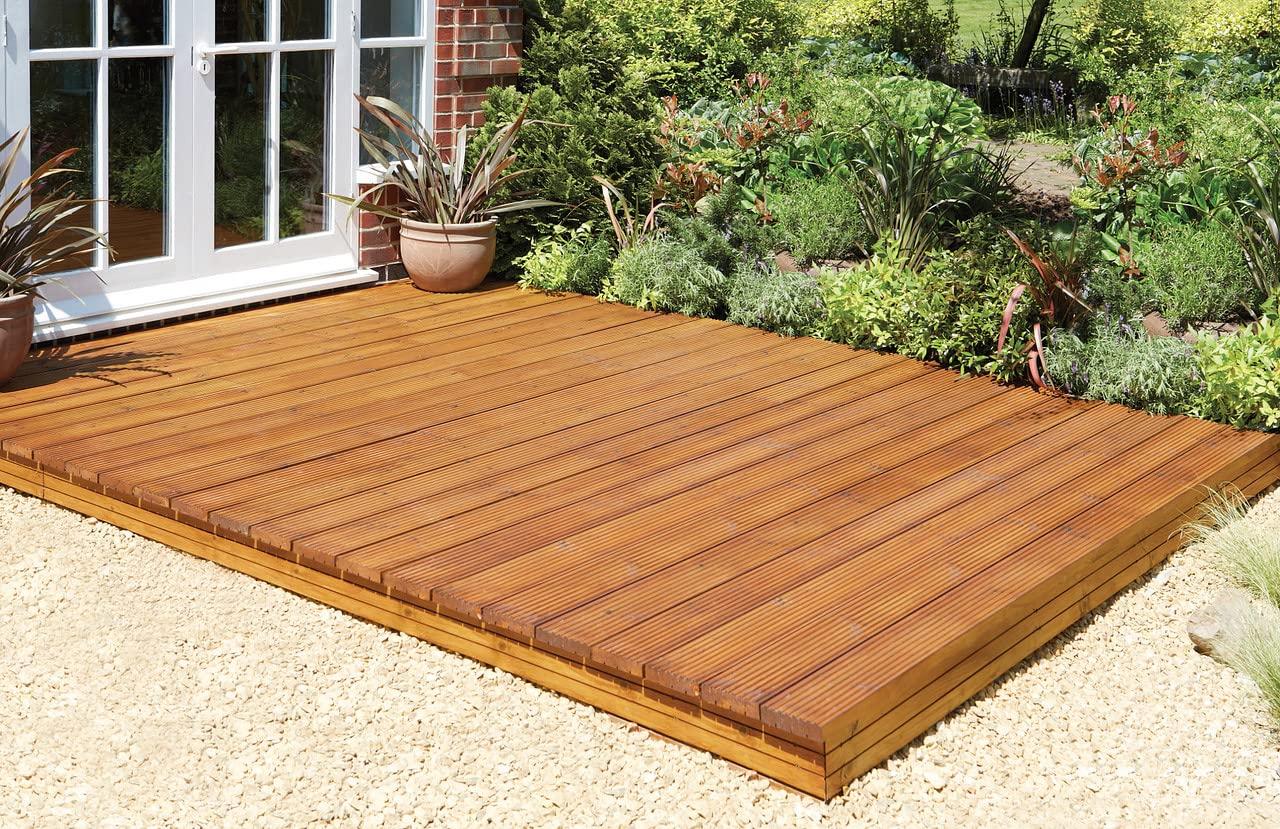
How to build a decking
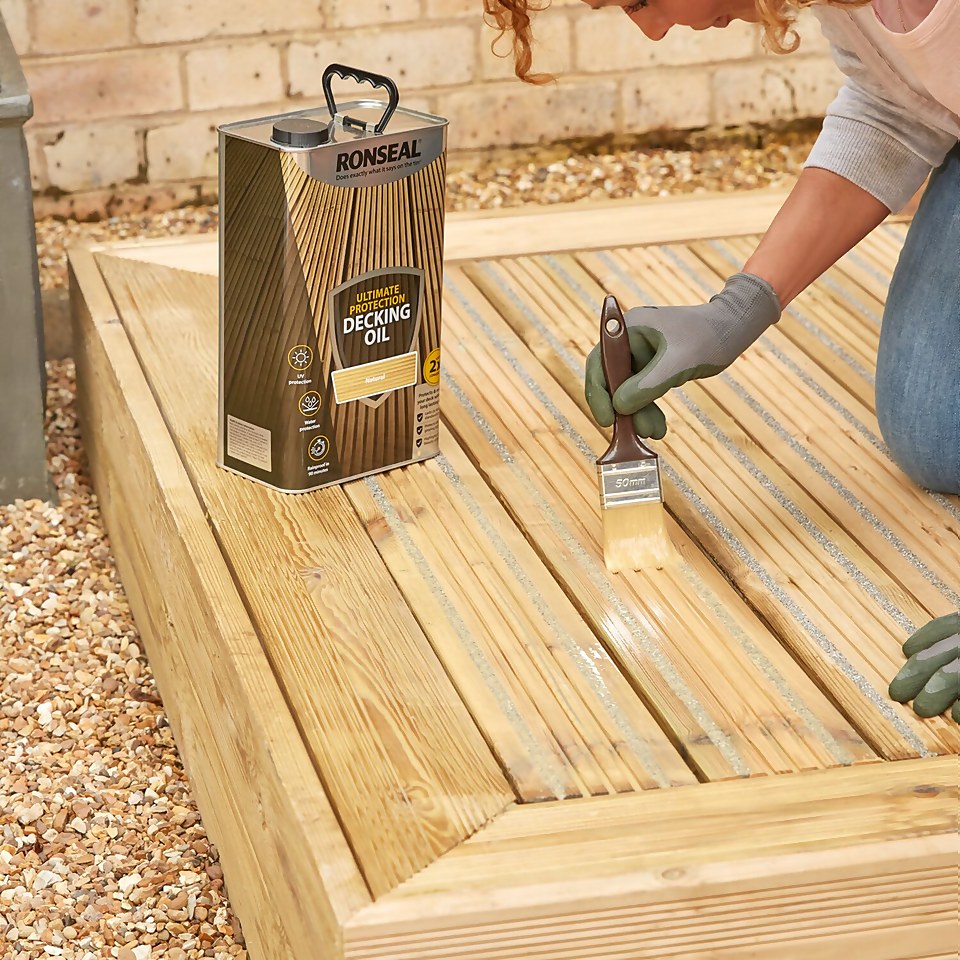
Congratulations! You’ve successfully built a deck yourself. Don’t forget to protect your decking to ensure it lasts longer.
We recommend Ronseal Ultimate Protection Decking Oil.
For stock checks, price checks or to place an order please telephone your local Maxwells branch.
By following these steps of how to build a decking, DIY enthusiasts can confidently tackle this project with the right knowledge and tools. Maxwells DIY is here to support you every step of the way.

![Gardening For Beginners [Top 10 Tips]](https://www.maxwellsdiy.co.uk/wp-content/smush-webp/2024/04/top_10_tips_for_gardening_beginners-768x512.jpg.webp)